Poolish is the secret to making more complex tasting bread with little effort! Keep reading to learn its story, the advantages of this preferment, and how to bake delicious bread with it.
Jump to:
I have the ultimate poolish baguette recipe for poolish beginners!
What is Poolish
Poolish is like a secret ingredient that makes bread taste amazing: a special mix that bakers use to make bread lighter and give it a more complex taste.
A long time ago, bakers in Poland came up with it, and then bakers in Austria and France started using it too. It became really popular because it made bread taste better, but not as sour as bread using a sourdough culture.
A poolish is a preferment made of equal parts of flour and water, and a pinch of commercial yeast. Unlike sourdough, you don’t keep a jar of poolish: this “culture” is fully made for using in just one bread recipe.
Note that poolish is not the same as pâte fermentée, as some might say. The latter, also known as old dough, uses salt, while poolish is made only with water, flour and yeast.
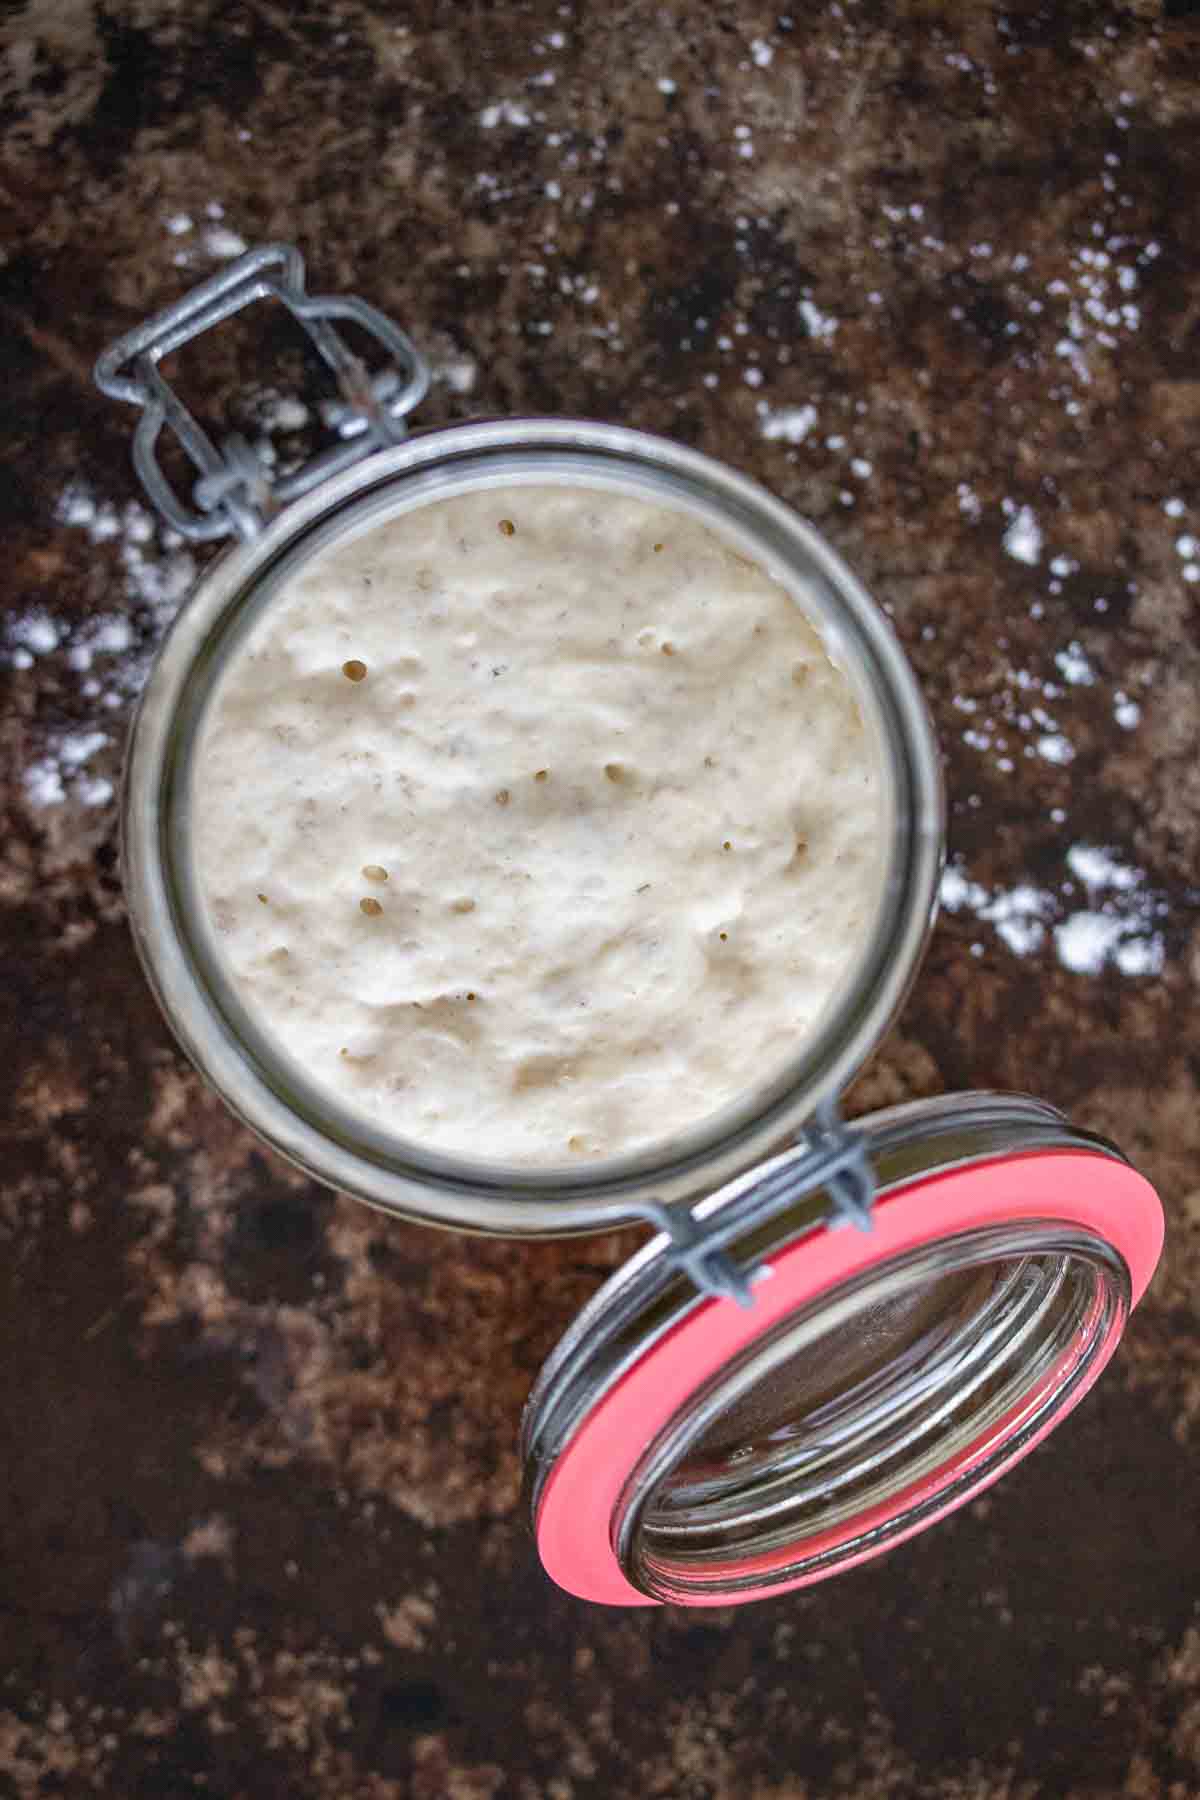
Poolish has 100% hydration: it means this preferment is made with a ratio of equal parts of flour and water. It looks shaggy when just mixed, and as it ferments, it transforms into a more liquid, batter-like dough. Due to its high hydration, this preferment is easy to incorporate into the final dough.
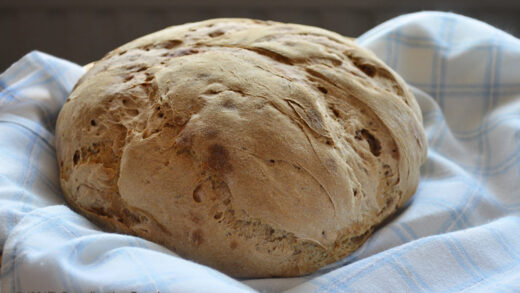
I like using it when making baguettes, rustic loaves and pizzas, to improve the crust and taste of the bread. When baking at home, you usually make poolish the night before baking bread.
Why use a preferment when making bread
Using a preferment like poolish is adding one more step to baking bread. It takes from 3 to 16 hours for a poolish to mature (depending on the amount of yeast used and temperature), so why do it?
If doing it correctly, baking with poolish will:
- Give the dough a stronger structure. Bread will rise better and have an amazing texture and crust color.
- Improve flavor. It will taste and smell like bakery bread! You’ll get a great aroma and flavor, but not as sour as if baking with sourdough or an overnight fermentation dough.
- Keeps bread better. Using poolish will make bread last for longer.
Ingredients
Flour. Poolish is typically made with bread flour, but this ingredient can vary depending on the recipe. I’ve already made it using all-purpose (my baguettes are made with ap flour!) and whole wheat flour.
Water. Use room temperature water, filtered if possible. Never use very cold nor hot water: the first can make the yeast dormant, the second will mostly kill it. During very cold days of winter, you can use lukewarm water to give the preferment a bit of help.
Commercial yeast. Prefer to use dry commercial yeast, both active dry and instant dry works for poolish. Fresh yeast is also possible to use, but the amount needed is different than if using its dried version.
Do not use sourdough as a substitute for commercial yeast when making a recipe that asks for poolish.
Want to start a sourdough culture? I can teach you how to make a sourdough starter!
How much yeast should I use?
These amounts work best if the temperature’s about 80 to 85 degrees Fahrenheit (27 to 29 degrees Celsius), and where the water is about 60 degrees Fahrenheit (16 degrees Celsius). If it’s warmer, you can use less yeast or cooler water. The goal is to have the poolish just right when you mix it into the final dough.
Here’s a basic idea of how much instant dry yeast to use:
- If poolish sits for 3 hours, use about 1.5% yeast.
- If it sits for 6 to 8 hours, use around 0.7% yeast.
- If it sits for 12 to 15 hours, you only need about 0.1% yeast.
The numbers above are in baker’s percentage, which sometimes can be complicated to understand. Let’s make it simple!
For a poolish made with 200g of water and 200g of flour:
- 3 hours: 3g of instant yeast.
- 6 to 8 hours: 1.4g of instant yeast.
- 12 to 15 hours (overnight): 0.2g of instant yeast.
For those who are wondering how I got to these numbers, it’s simple:
- To get the amount of yeast needed, you divide the amount of flour you’re using to make the poolish (200g) for 100.
- Then multiply the result (2) for the percentage related to the time chosen (0.1 for 12 to 15 hours).
- The result is the amount of dry instant yeast (0.2g).
If using active dry yeast, multiply the final amount by 1.2.
For fresh yeast, multiply the final amount by 3.
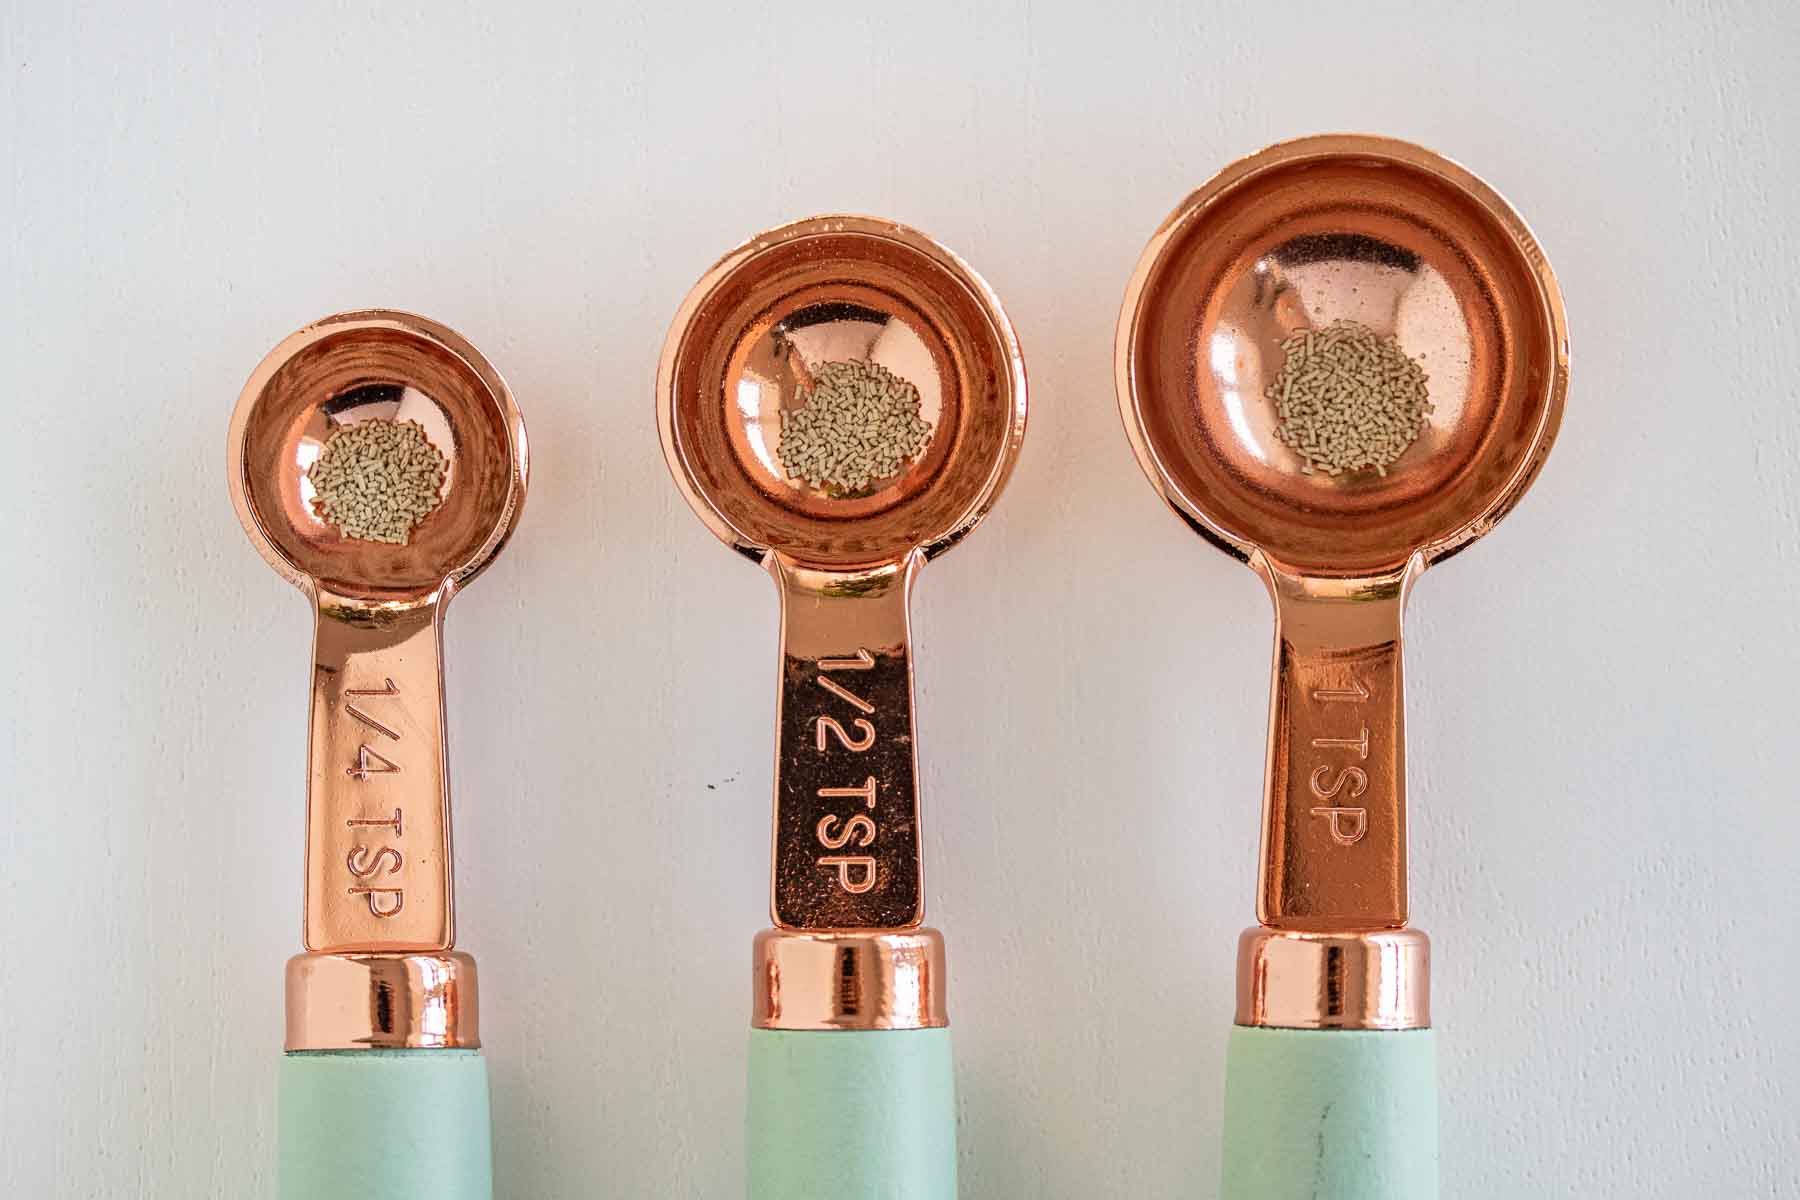
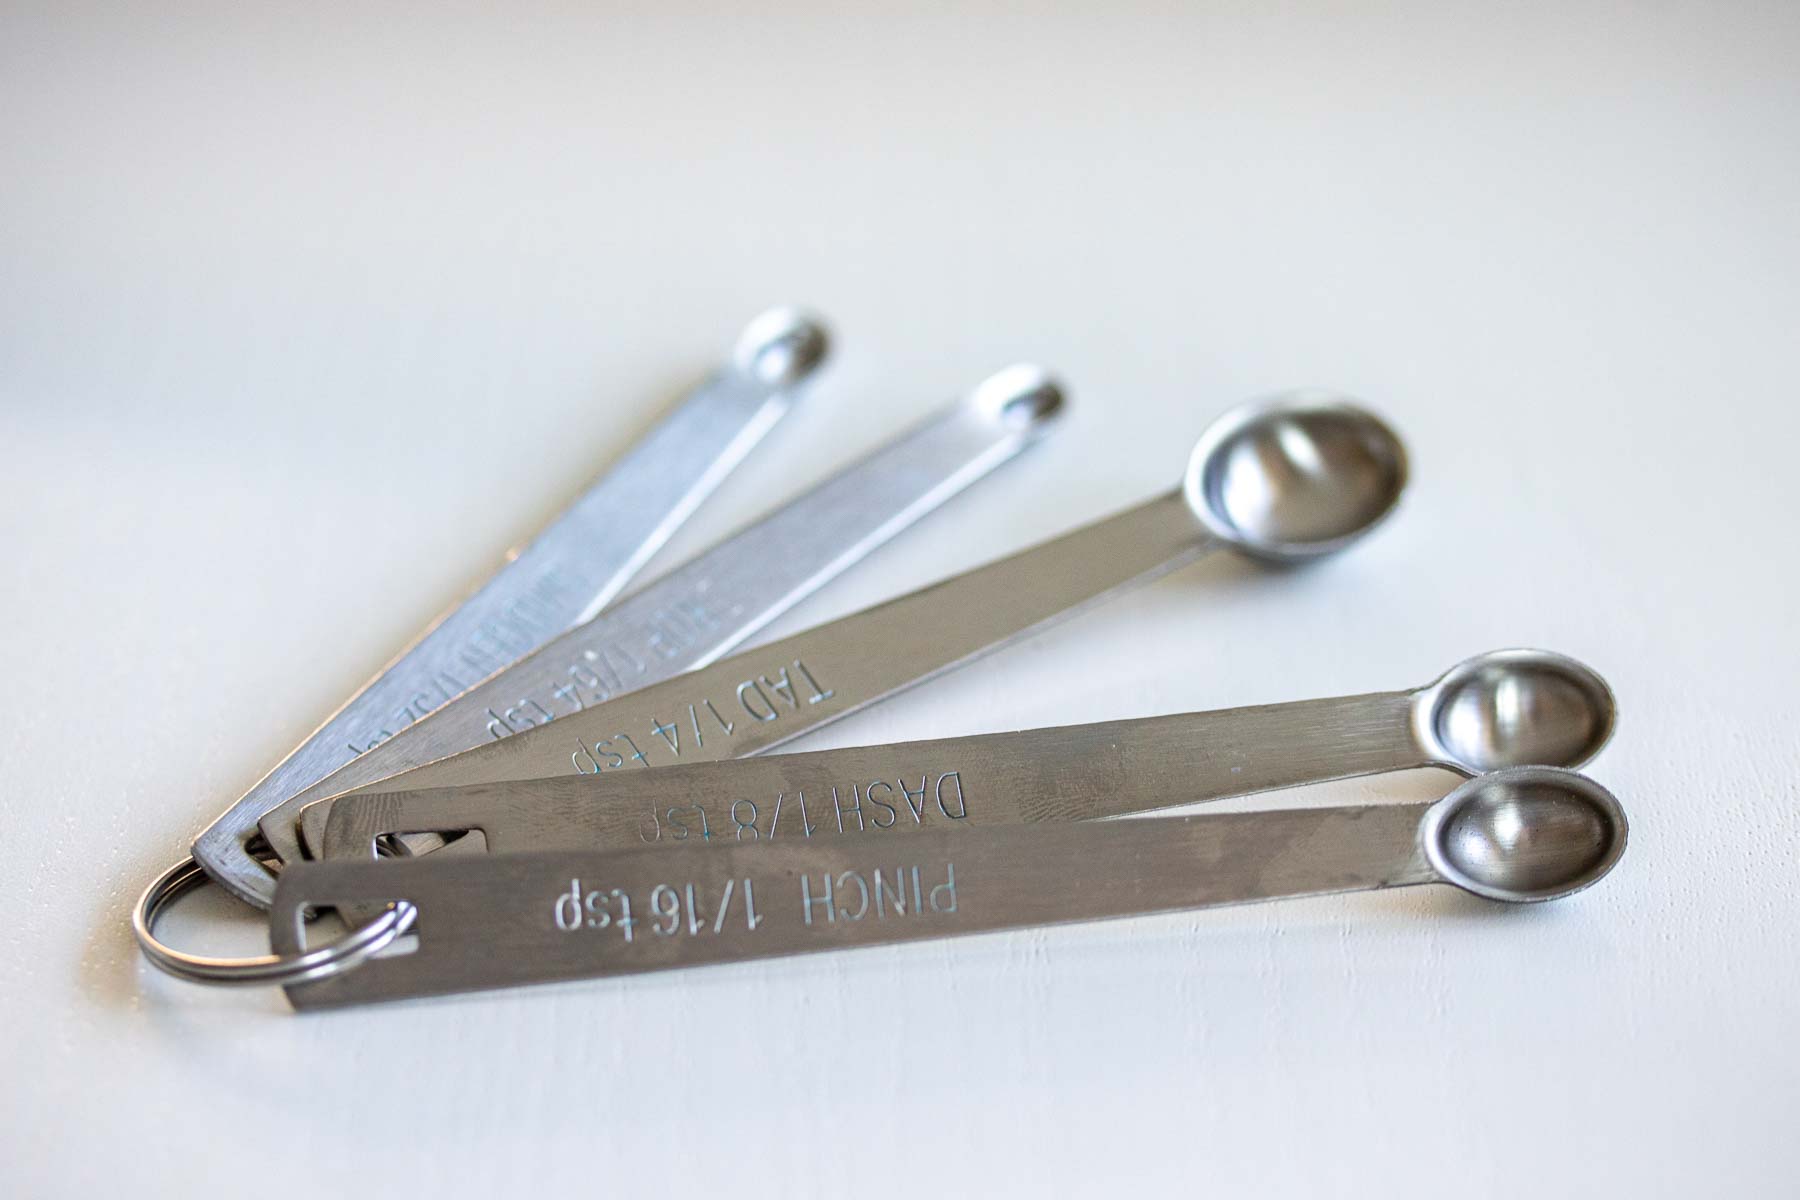
If you’re wondering what 0.2g of yeast looks like, the photo below shows this amount on different measuring spoons.
Remember: always check the expiration date of the yeast, and keep it refrigerated after opening!
How to measure small amounts of yeast
Most people don’t own a precision scale at home, and it’s impossible to measure 0.2g of yeast precisely using a regular scale.
There are some options if you want to be as precise as possible without using a special scale.
Using mini measuring spoons
Mini measuring spoons are available for purchasing at Amazon. They often come in a kit with 4 to 5 measuring teaspoons:
- ¼ teaspoon (a tad) equals to about 0.8g of yeast;
- ⅛ teaspoon (a dash) equals to about 0.4g of yeast;
- 1/16 teaspoon (a pinch) equals to about 0.2g of yeast;
- 1/32 teaspoon (a smidgen) equals to about 0.1g of yeast.
Mixing flour and yeast
This technique can help those with no special scale to get a close to accurate measurement. Use it only for measuring less than 1 gram of yeast.
You will need a normal scale for that, a small bowl and a whisk.
- Mix 1g of instant dry yeast with 9g of flour. Mix it well.
- For each 0.1g of yeast needed, use 1g of the mixture above (one part in 10 should be yeast).
- You can keep the remaining mixture in a small container with an airtight lid refrigerated, if using it again in less than one week.
How to make poolish
When making a poolish, we’ll need equal parts of water and flour: the ratio is 1:1. Regarding yeast, it depends on the amount of fermenting time, as explained above.
Step 1. In a clean bowl, using a whisk, mix water, flour and a pinch of commercial dry yeast. I like to use a whisk for mixing so there are no lumps of dry flour in the poolish.
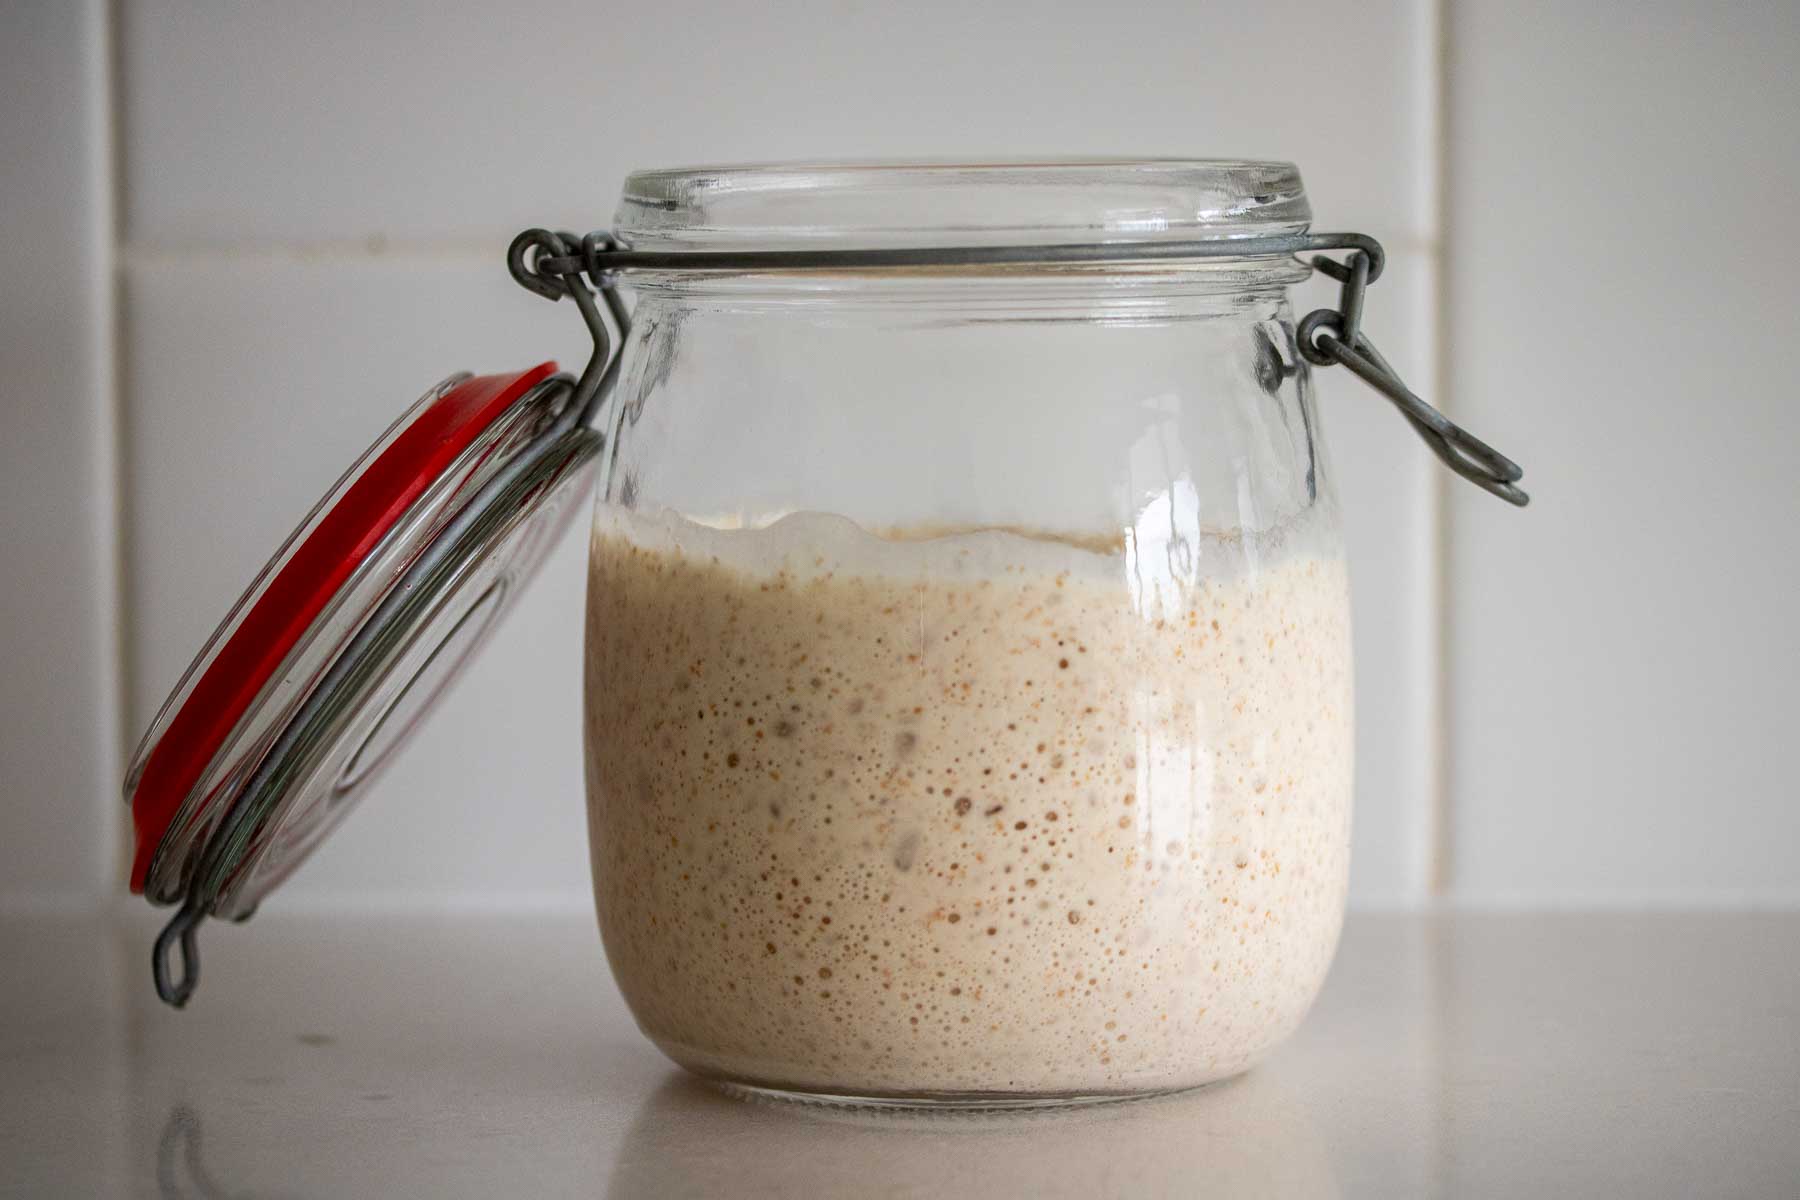
Step 2. Cover the bowl with a clean towel or plastic wrap, to prevent the top from drying. You can also store the preferment in a jar.
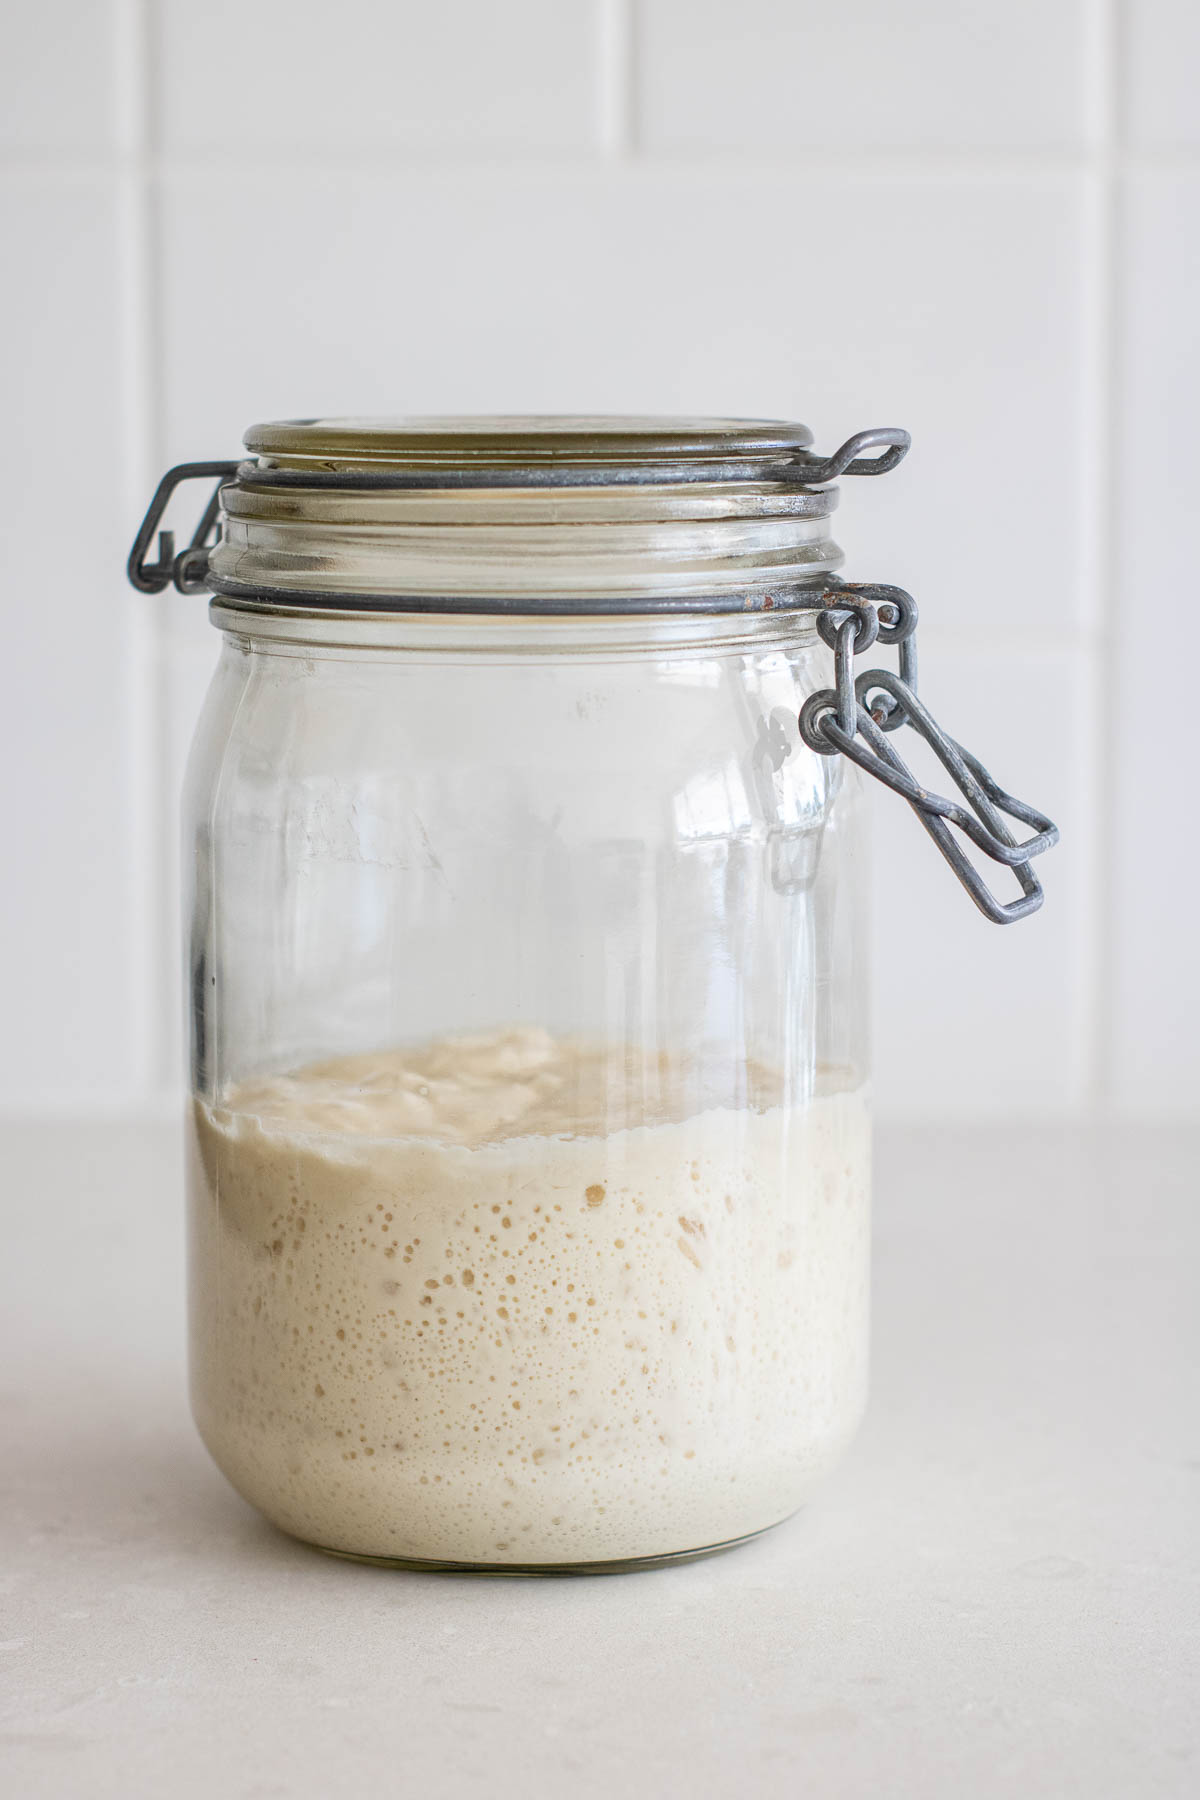
And wait: that’s the tricky part of poolish. You need to let it sit at room temperature for some time, and the amount of yeast needed depends on how long it sits, as well as the temperature while it ferments.
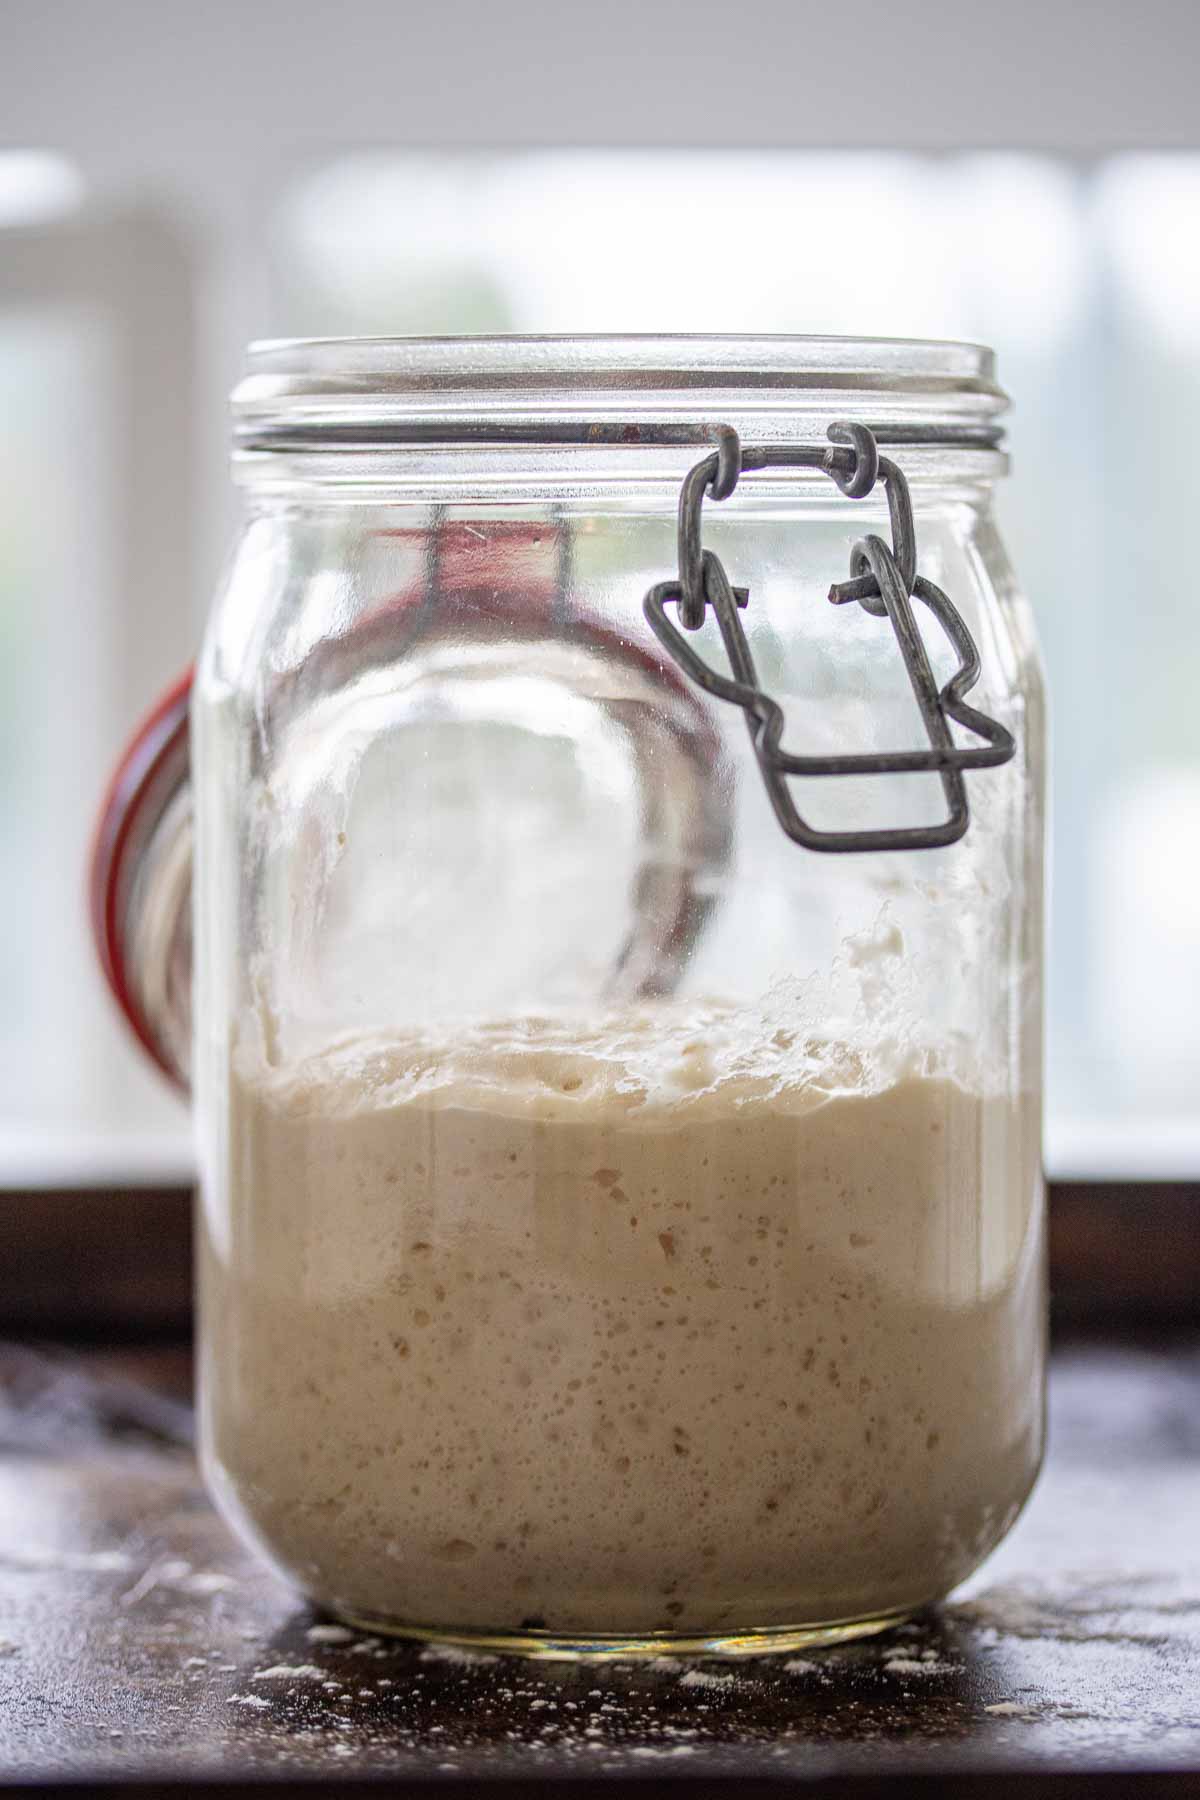
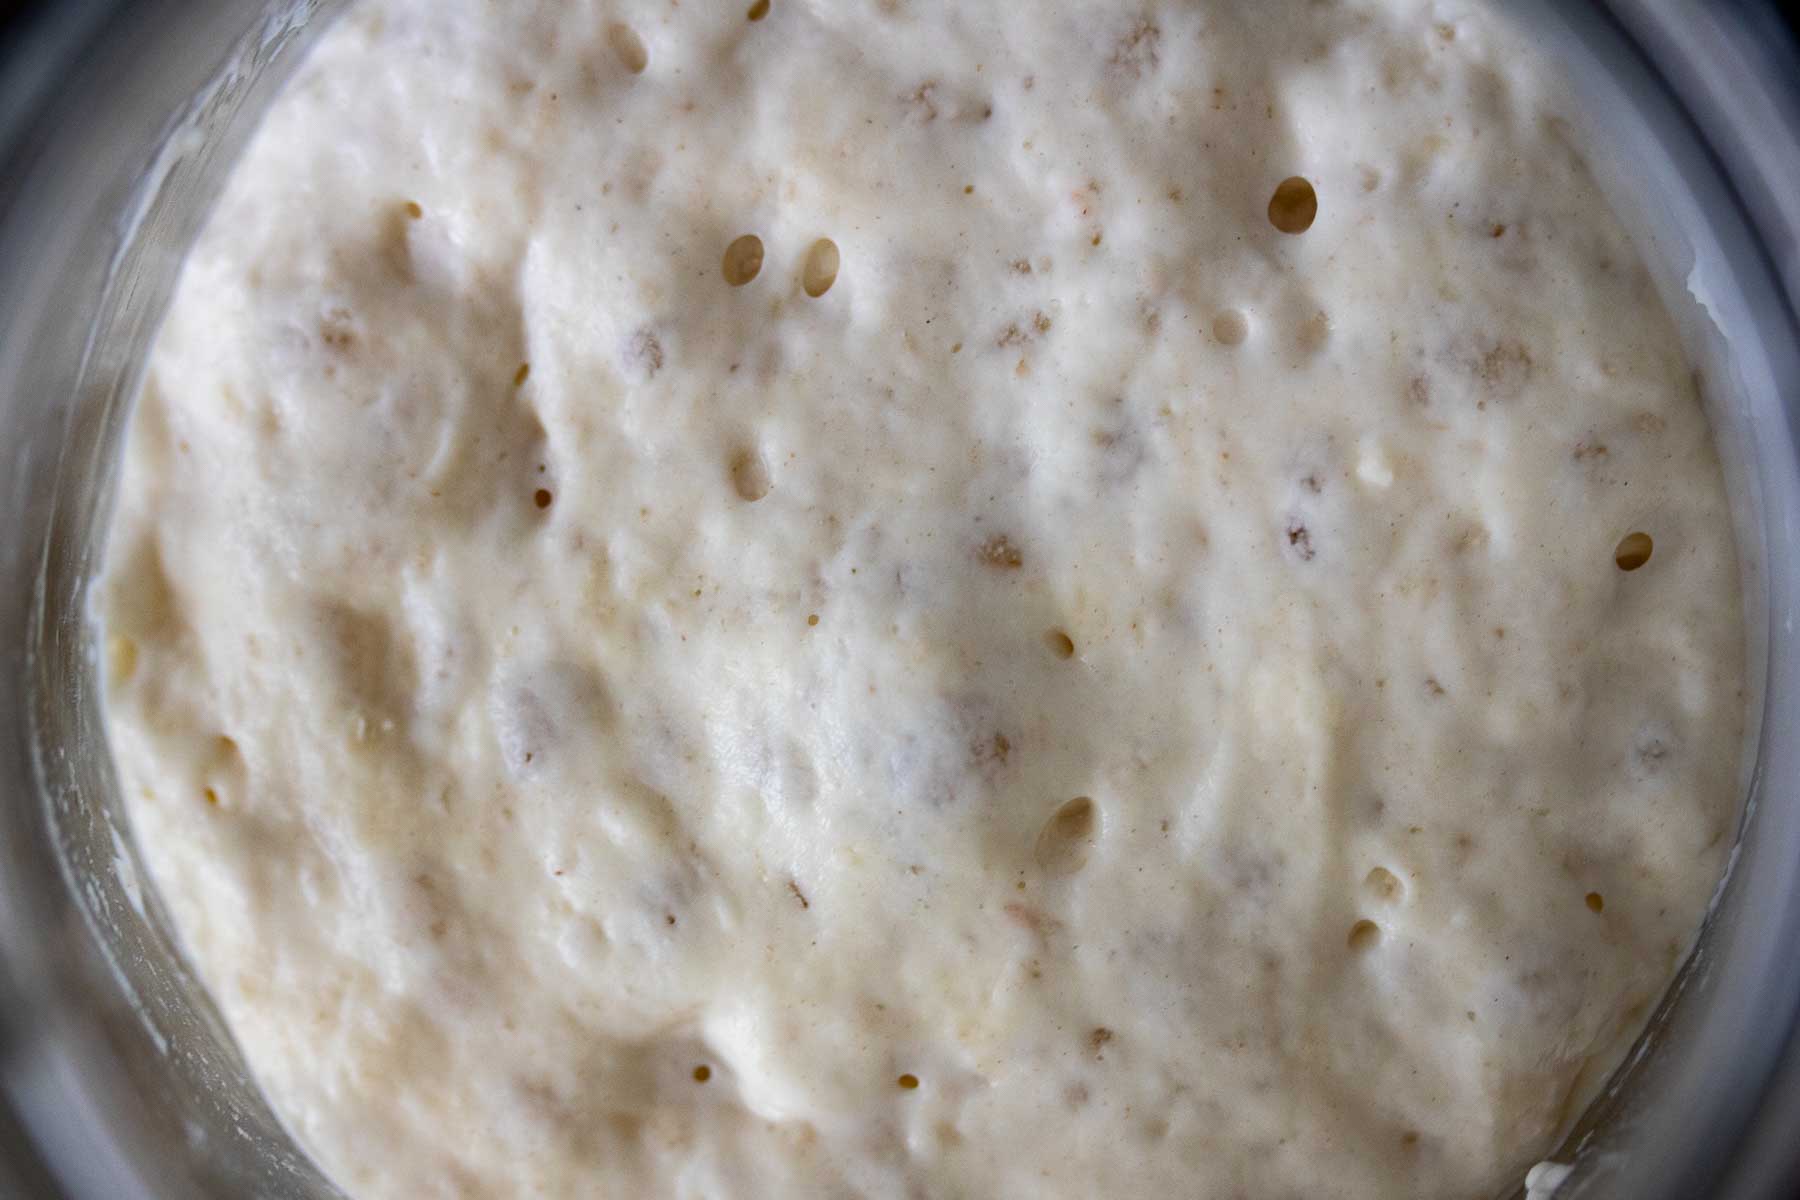
As it ferments, it’ll rise as the hours pass, doubling (sometimes even tripling) in size. You’ll know it’s ready when it has a little bump on top and starts to sink in a bit.
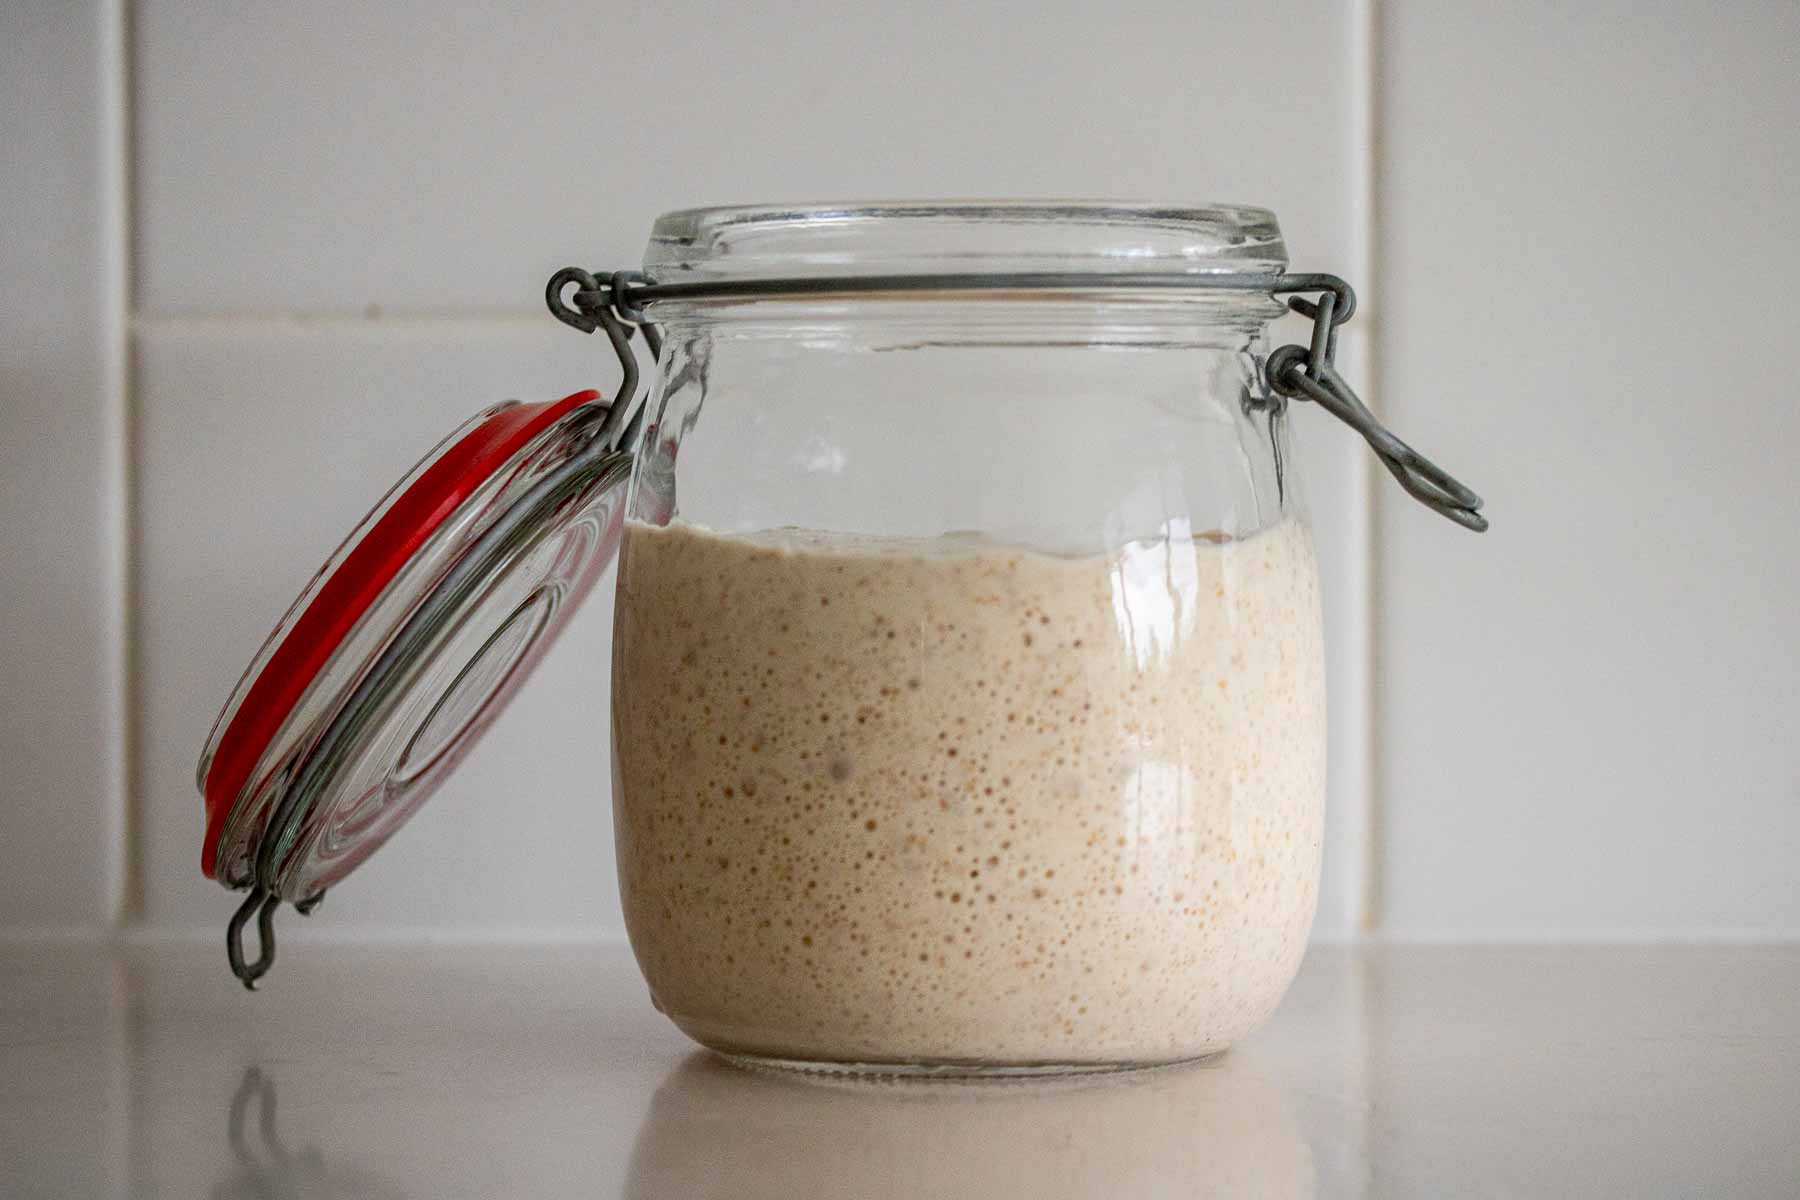
If it’s still rising, it’s underproofed (or under ripe).
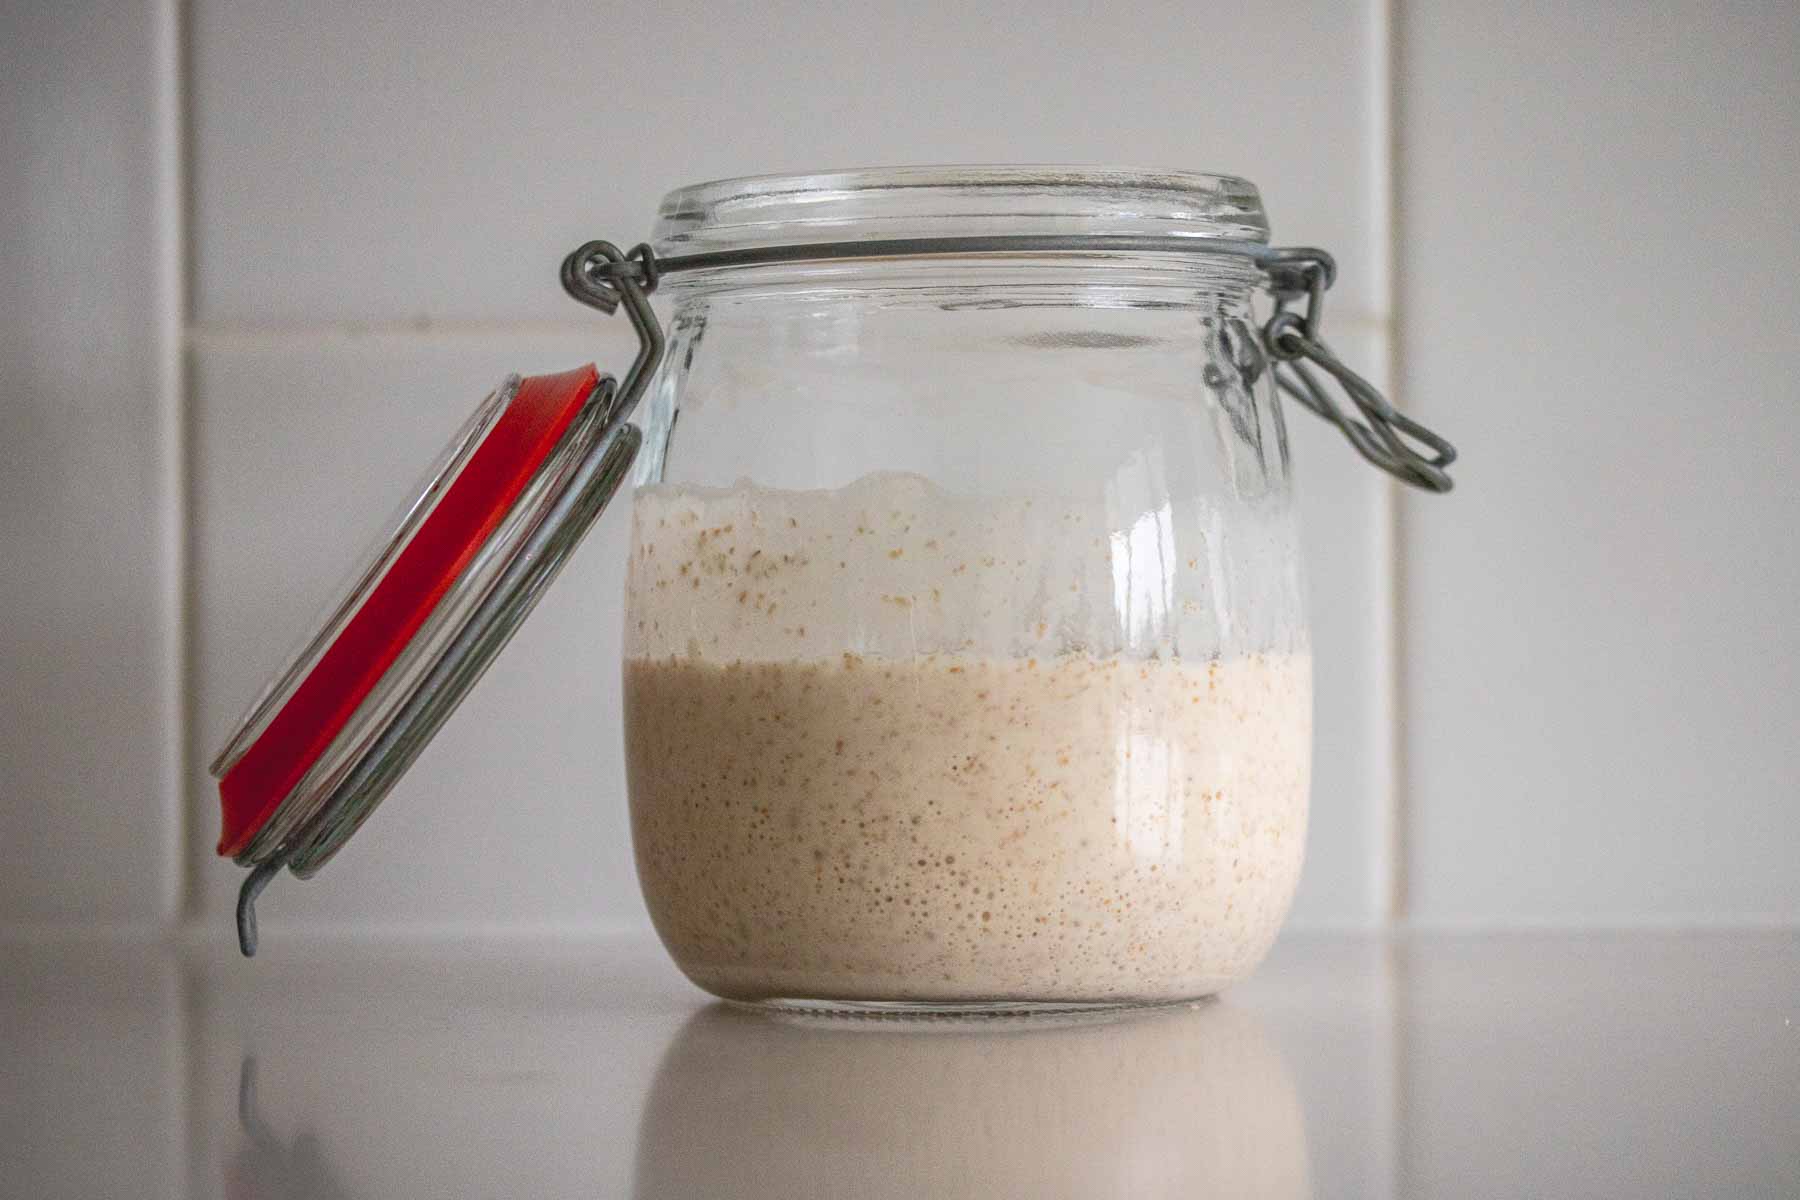
If it has risen and then collapsed down, it’s overproofed (or over ripe).
So, when is poolish ready?
If it stopped rising and has just started to collapse, it is proofed (or ripe). If in a bowl, you will notice a slight dip in the middle of it.
To prevent overproofing poolish:
- Don’t let it fermenting over direct sun;
- Don’t leave it in a warm spot in your kitchen during summer/hot weather.
At the start, it might take some tries to get it perfect, but don’t give up!
Expert tips
It’s better to use an under ripe poolish than one that has over ripped. Over ripping kills the gluten in the preferment. That makes the final dough hard to work with, as it has a weaker structure.
Don’t use more than 50% of poolish in a dough.
You can make it with different types of flour, like whole wheat, rye and even spelt.
How to use poolish in a regular bread recipe
Poolish is a great preferment for baguettes, ciabatta and rustic boules. I also love making pizza dough with it, and even a focaccia can improve when made with poolish.
If you’re looking to adapt a recipe that requires no poolish to one with it, it’s not difficult. The important thing to notice is that the percentage of this preferment should be between 10 to 50%, and no more than 50%. Less than 10% doesn’t do much, more than 50% gives you a weak dough.
Let’s do it for a simple artisan bread.
Original recipe:
- 500g bread flour
- 300g water
- 6g instant dry yeast
- 10g salt
First thing is to define the percentage of poolish you’ll be using. Let’s make it 30% for this recipe.
For a 30% poolish, you’ll need 30% of the original flour amount and mix with the same amount of water.
So, poolish will be 100g of flour, 100g of water, and 0.1g of yeast for a 12-16 hours fermentation.
When adapting a regular recipe to add poolish, I usually lessen by 2g to 5g the original amount of yeast, depending on the weather. During very cold days, I lessen 2 to 3g (usually ending up with about 3g of yeast). When baking during hot summer days, 4 to 5g (ending up with about 1g of yeast).
Final dough recipe will be:
- About 200g poolish
- 400g bread flour
- 200g water
- 3g instant dry yeast
- 10g salt
Questions you might have
Yes, you do, but less than if making bread with no preferment. Adding additional yeast will make the final dough more predictable, making it rise after a certain time.
Yes, you can. If you use more yeast than needed, if you let the poolish ferment for longer than planned or if making during a hot day or night, poolish can overproof.
You can, but texture, flavor and structure will be affected. Using an overproofed poolish means you use weakened and damaged gluten in your dough. When using an overproofed poolish, you might need to reduce the amount of liquid when making the dough.
If you can see a rim in the bowl or jar, and the poolish is half the way down, it’s overproofed. It will also be very thin, like a thin batter.
Still have questions? Let me know in the comments below!
#poolish #starter #baking #bread #Milk #Pop