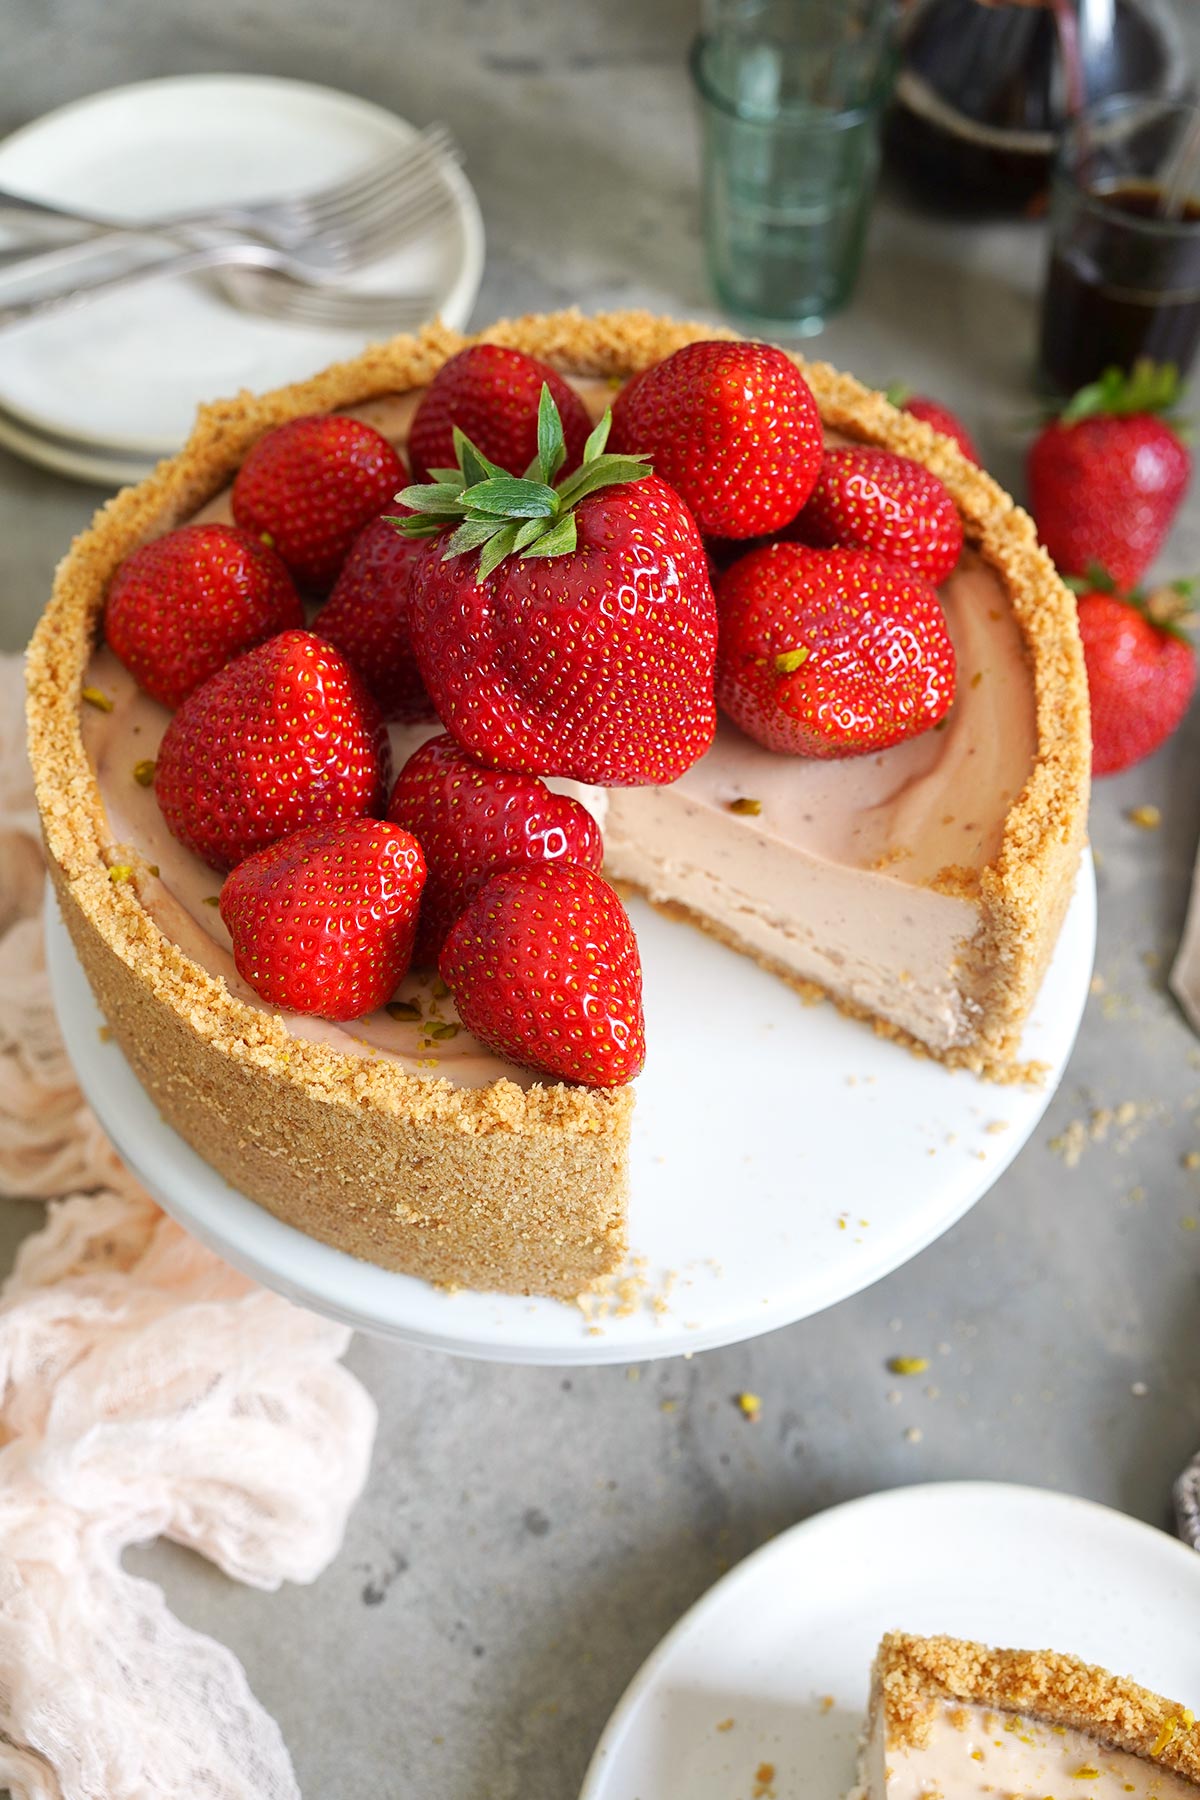
When it comes to cheesecakes we often gravitate to no-bake cheesecakes in summer. They are delicious and easy to prepare. However, do not forget those baked cheesecakes – those are great as well. This delicious Baked Strawberry Cheesecake is the perfect example here. Great flavors, great texture… this one can easily keep up with any no-bake cheesecake 😉
There are hundreds, if not thousands of recipes for cheesecakes out there. I have over 130 cheesecake recipes here on the blog. Cheesecakes from all over the world – some of them are baked, some only need time in the fridge to get ready… some need both. A classic Basque Cheesecake, for example, needs to be baked but also quite some time in the fridge to get the perfect texture. You need to be very patient with that cheesecake ;P
This year we have a small »strawberry booth« right in front of our house where you can buy fresh strawberries from a local farm. As a result, we often have a bowl of fresh strawberries in our kitchen – mostly to snack on them, but as you can imagine, also for new recipes here on the blog. For this Strawberry Cheesecake, for example. Only the freshest strawberries for my cakes ;P


This cheesecake is made with a lot of strawberries – they are inside and on top. The strawberries on top of the cake are of course quite obvious, but when you have the first bite in your mouth, you realize that a lot of strawberries have also been used in the cheesecake mixture. The color of the cheesecake mixture is, admittedly, not the best. The pale piggy pink is not really my cup of tea ;P It definitely looked better before baking… something that happens a lot when you are not using artificial colors. The natural colors of fruits and berries often change when exposed to heat (in the oven).
I want to mention that cheesecakes with a cookie base can cause problems sometimes. The cheesecake filling of those baked cheesecakes can give you trouble when contracting while cooling down. The cookie crust can be impacted by this contraction and break or crumble. You easily notice this when a gap forms between the cheesecake filling and the crust as the cake cools. Fortunately, this was not the case with my cake here. This was most likely because I baked the cake for a slightly shorter time than usual.

I wanted a soft and creamy texture for this cheesecake here. The texture is easy to control when preparing no-bake cheesecake by using less or adding more agar agar or gelatin to the cheesecake mixture. When baking a cheesecake, you control the texture with the baking time, among other things. If you want a creamy texture, you have to take out the cake before it has set completely. The filling still has to be a bit wobbly. While cooling down that filling will firm up. Letting the cheesecake cool down while the filling is still soft reduces the risk of shrinkage. But you have to be careful – if the cheesecake has not baked enough, the cooling won’t help and the cake will not firm up properly… no matter how long you keep it in the fridge ;P
I don’t want to discourage anyone here, but it never hurts to have some experience with baking cheesecakes. It makes it easier to judge when the cake has to come out of the oven. Something you’ll get the hang of it after 2-3 cheesecakes at the latest. I always baked my cheesecakes a little longer at the beginning to make sure they were »stable«, but that wasn’t usually necessary 😉
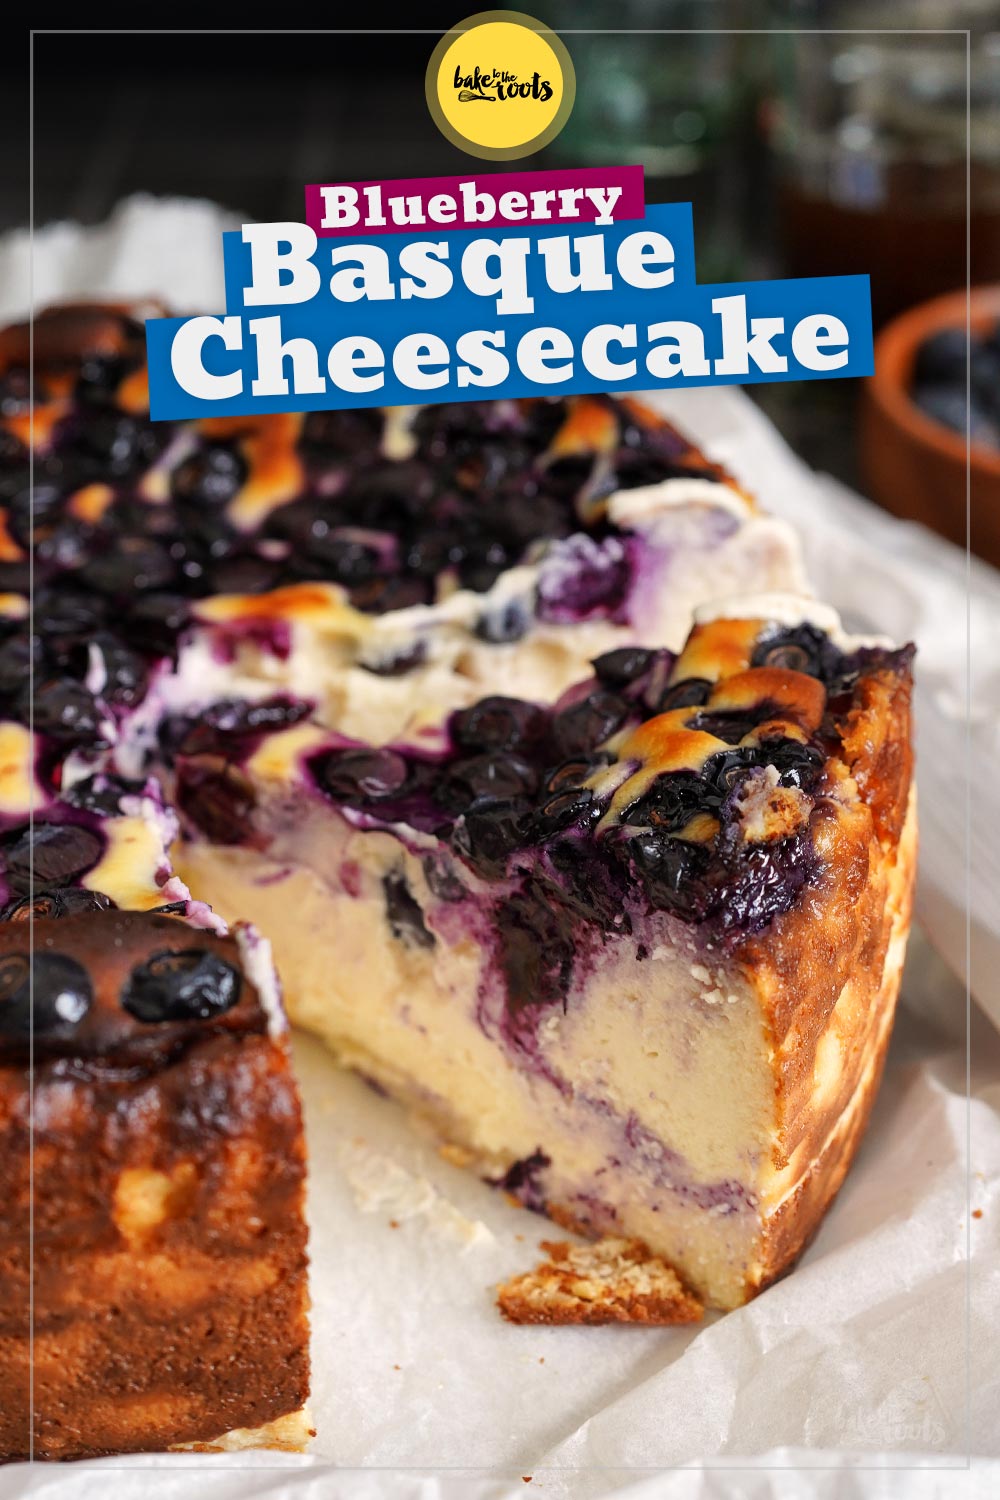
Anyway. I got a few baked cheesecakes here on the blog. Two of my favorites are my San Sebastian Cheesecake with Blueberries and my Carrot Cake Cheesecake. Both of them have a lot of fans…
INGREDIENTS / ZUTATEN
For the base:
8 oz. (230g) oats shortbread cookies*
1.4 oz. (40g) rolled oats
2.5 oz. (70g) butter, melted
For the filling:
7 oz. (200g) fresh strawberries, puréed
1 tbsp. cornstarch
1 tbsp. lime juice
28 oz. (800g) cream cheese
1/2 cup (100g) sugar
3 large eggs
1 tsp. vanilla extract
For the topping:
a lot of fresh strawberries
some warmed strawberry jam (optional)
some chopped pistachios (optional)
Für den Boden:
230g Hafer Butterkekse*
40g Haferflocken
70g Butter, geschmolzen
Für die Füllung:
200g frische Erdbeeren, püriert
1 EL Speisestärke
1 EL Limettensaft
800g Frischkäse
100g Zucker
3 Eier (L)
1 TL Vanille Extrakt
Für das Topping:
viele frische Erdbeeren
etwas erwärmte Erdbeermarmelade (optional)
einige gehackte Pistazien (optional)


DIRECTIONS / ZUBEREITUNG
1. Preheat the oven to 350°F (180°C). Line an 8-inch springform tin with baking parchment and grease lightly. Set aside. Melt the butter for the base and let cool down a bit.
2. Add the cookies and rolled oats to a food processor and mix until you get fine crumbs. Add the melted butter and mix until well combined. Transfer the cookie crumbs to the springform tin and press to the bottom and sides to create a nice crust. Bake for 8-10 minutes. Take it out of the oven and let cool down a bit. Reduce the heat of the oven to 320°F (160°C).
3. Clean and dry the strawberries, remove the green parts and add them together with the cornstarch and lime juice to a bowl. Purée with an immersion blender. Set aside
4. Mix the cream cheese with sugar, eggs, and vanilla extract in a large bowl. Add the puréed strawberries and mix in. Pour the filling into the pre-baked crust and bake the cheesecake for about 60-65 minutes – the edges should have set, but the center should still jiggle when you tap on the baking tin. Take out of the oven and let cool down completely, then place in the fridge for at least 4 hours, better overnight.
5. Remove the cheesecake carefully from the springform tin and transfer to a serving plate. Decorate the cheesecake with strawberries. I added whole strawberries, but you can also use halved or quartered strawberries. If the cake has to last a bit longer outside the fridge, I recommend brushing the cut strawberries with some warmed strawberry jam so they stay fresh longer (optional). Sprinkle the cake with some chopped pistachios to your liking before serving (also optional).
1. Den Ofen auf 180°C (350°F) Ober-/Unterhitze vorheizen. Eine 20cm Springform mit Backpapier auslegen und leicht einfetten. Zur Seite stellen. Die Butter für den Boden schmelzen und etwas abkühlen lassen.
2. Kekse und Haferflocken in eine Küchenmaschine/Mixer geben und zu sehr feinen Krümeln verarbeiten. Die geschmolzene Butter hinzugeben und alles gut vermengen. Die Kekskrümel in die Springform geben und am Boden und den Seiten festdrücken. Den Keksboden für etwa 8-10 Minuten backen. Die Form aus dem Ofen nehmen und ein wenig abkühlen lassen. Die Temperatur des Ofens auf 160°C (320°F) reduzieren.
3. Erdbeeren waschen und trocknen, das Grün entfernen und zusammen mit der Speisestärke und dem Limettensaft in eine Schüssel geben, dann mit einem Stabmixer pürieren. Zur Seite stellen.
4. Den Frischkäse mit Zucker, Eiern und Vanille Extrakt in einer großen Schüssel verrühren. Die pürierten Erdbeeren dazugeben und unterrühren. Die Mischung in die Backform mit dem vorgebackenen Keksboden geben und den Käsekuchen dann für etwa 60-65 Minuten backen. An den Rändern sollte die Masse fest geworden sein, in der Mitte darf sie aber noch etwas wackeln, wenn man an der Backform rüttelt. Den Kuchen aus dem Ofen nehmen und komplett abkühlen lassen, dann mindestens 4 Stunden (besser über Nacht) in den Kühlschrank stellen.
5. Den Käsekuchen vorsichtig aus der Form lösen und auf eine Servierplatte setzen. Den Kuchen mit Erdbeeren dekorieren. Ich habe hier ganze Erdbeeren verwendet, aber man kann auch halbierte oder geviertelte Erdbeeren verwenden. Wenn der Kuchen etwas länger (ungekühlt) herumstehen muss, empfiehlt es sich, geschnittene Erdbeeren mit etwas erwärmter Erdbeermarmelade zu bestreichen, damit sie länger frisch bleiben (optional). Nach Belieben mit gehackten Pistazien bestreuen (ebenfalls optional).


Craving more? Keep in touch on Facebook, Twitter, Instagram and Pinterest for new post updates and more. You can also contact me with any questions or inquiries!
Here is a version of the recipe you can print easily.
Description
Almost everyone loves a good cheesecake – this Baked Strawberry Cheesecake is an especially delicious specimen of this cake category 😉
For the base:
8 oz. (230g) oats shortbread cookies*
1.4 oz. (40g) rolled oats
2.5 oz. (70g) butter, melted
For the filling:
7 oz. (200g) fresh strawberries, puréed
1 tbsp. cornstarch
1 tbsp. lime juice
28 oz. (800g) cream cheese
1/2 cup (100g) sugar
3 large eggs
1 tsp. vanilla extract
For the topping:
a lot of fresh strawberries
some warmed strawberry jam (optional)
some chopped pistachios (optional)
1. Preheat the oven to 350°F (180°C). Line an 8-inch springform tin with baking parchment and grease lightly. Set aside. Melt the butter for the base and let cool down a bit.
2. Add the cookies and rolled oats to a food processor and mix until you get fine crumbs. Add the melted butter and mix until well combined. Transfer the cookie crumbs to the springform tin and press to the bottom and sides to create a nice crust. Bake for 8-10 minutes. Take it out of the oven and let cool down a bit. Reduce the heat of the oven to 320°F (160°C).
3. Clean and dry the strawberries, remove the green parts and add them together with the cornstarch and lime juice to a bowl. Purée with an immersion blender. Set aside
4. Mix the cream cheese with sugar, eggs, and vanilla extract in a large bowl. Add the puréed strawberries and mix in. Pour the filling into the pre-baked crust and bake the cheesecake for about 60-65 minutes – the edges should have set, but the center should still jiggle when you tap on the baking tin. Take out of the oven and let cool down completely, then place in the fridge for at least 4 hours, better overnight.
5. Remove the cheesecake carefully from the springform tin and transfer to a serving plate. Decorate the cheesecake with strawberries. I added whole strawberries, but you can also use halved or quartered strawberries. If the cake has to last a bit longer outside the fridge, I recommend brushing the cut strawberries with some warmed strawberry jam so they stay fresh longer (optional). Sprinkle the cake with some chopped pistachios to your liking before serving (also optional).
Links marked with an asterisk (*) are affiliate links (advertising/Werbung) to Amazon Germany. If you click on one of those links and buy something via this link, I will get a commission for that sale. The price of whatever you buy is not affected in any way by this.


#Baked #Strawberry #Cheesecake #Bake #roots